Maybe you prefer custom over mass-produced, maybe you want to give an angler a gift with real meaning, or maybe you just like fishing with the best, and in any of those cases you might want to build a fishing rod rather than buy it. Thanks to a helping hand from Angler’s Resource, we’re going to show you how to make it happen with this three-part series on custom rod-building.
There’s a special thrill that comes from catching a fish using your own resources. Whether you’re using a rod you built with your own two hands, flinging a home-made lure, or just using some creative thinking, it’s your individual efforts that fooled that finned critter—which makes the experience that much more fulfilling.
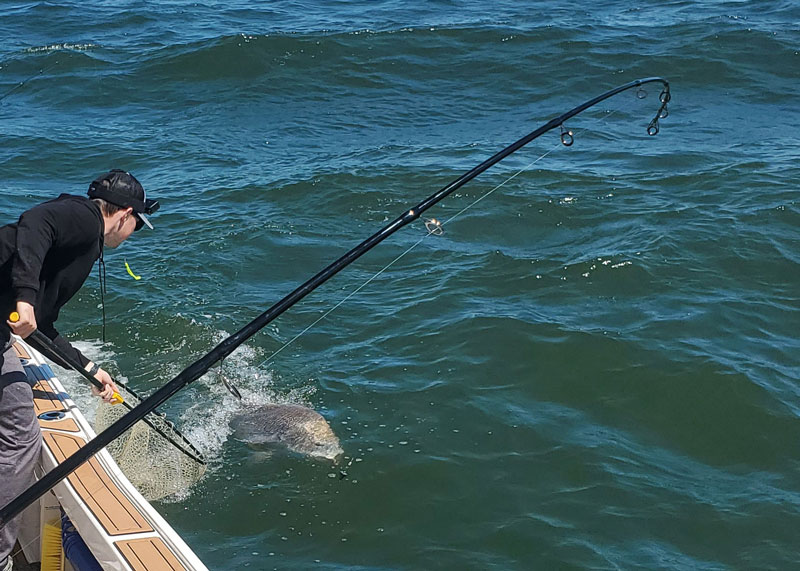
Of all the custom creations you can work on, building a custom fishing rod, or even an entire set of rods, is one of the most rewarding. Every time you take a cast, jig the tip, or feel the subtle take of a light-biting predator, you’ll be enjoying the fruits of your labor. Added bonus: you can build the rod to your own personal specifications and parameters to perform ideally for the ways you most enjoy fishing.
In this three-part series on custom rod building we’ll walk through the steps of turning an idea into a bunch of pieces-parts, then turning those pieces-parts into a fish-catching reality. Step I: identifying the ideal rod for your needs, and then laying out exactly what you’ll need.
Choosing your Fishing Rod Build
Most of us fish for a wide range of species depending on the season, what species of fish are biting, and where the conditions allow us to fish on any given day. So, most of us have a wide range of rods sitting in the rack. Since we have to start our rod-building endeavors somewhere and will have to choose one specific type and size rod as a starting point, step one is narrowing down the options and choosing the build.
Though it might sound like odd advice at first, we don’t suggest starting with your most favored type of fishing. Like any craft, rod building is a talent built with time, effort, and knowledge. While the first rod you build will meet the specifications you set and should perform as expected, it’s likely to have some wiggle in the wraps or some imperfections in the finish. It’s more likely to qualify as practice than perfection. So, while the ideal starting point for most people will be a rod that they use often, it won’t necessarily be the rig that they’ll covet the most.
Let’s say, for example, you’re a Bay angler who most commonly targets striped bass. And let’s say you enjoy jigging and maybe even catch the most fish that way, but it’s topwater plugging that really gets you excited. There are some subtle differences that make a rod better for one job or the other. Your ideal jigging stick might be a bit shorter to boost accuracy when zinging jigs under docks, and have a super-fast action for instantaneous hook-sets. Meanwhile, your ideal topwater rod might benefit from increased length to maximize casting distance, and a slower action to give that plug a wide zigzag when you pump the tip to walk the dog. Even though you might use the jigging rod more often you’re likely to treasure the topwater rod more. In this scenario, it might be wise to start out by building a jigging rod this winter and save the topwater rod for next time, after you have some experience.

Once you’ve ID’d the specific type of rod you want to try building it’s time to set the parameters for rod length, weight, action, and power. (See “Choosing the Best Fishing Rod” if you need a refresher on how these characteristics interact.) With the concept fully formed, it’s time to move on to the next step of the process and detail exactly what you’ll need.
Creating a Build Sheet for you Custom Fishing Rod
A “build sheet” is generally used by a custom rodbuilder to outline a project for customers and come up with an estimate of the cost. As a DIY builder you certainly don’t need to figure out the cost of your labor nor the pricing for decorative work, but laying out the basics of your build either on paper or in digital form is critical.
You can create an XL or grab the old-fashioned pad and pen and list out:
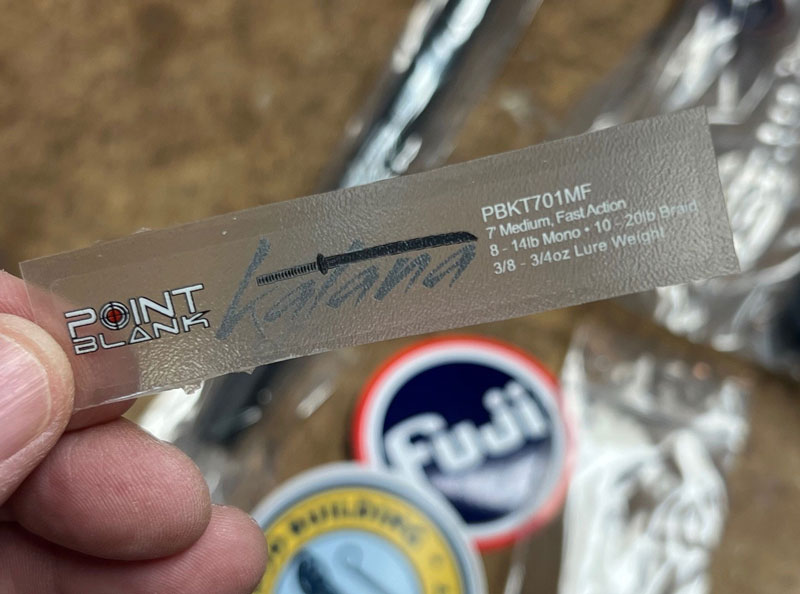
- The blank of choice and its specifications
- Reel seat brand, style, and size
- Brand, style, and size for the grips
- Guide details and spacing
- Tip size and style
- Thread size and color(s)
- Finish type
- Additional details and/or decorative work
Along with the actual rod components there are some specific tools you’ll need to build a rod. After choosing a well-lighted workspace with plenty of room for the rod you plan on building, you’ll want to outfit it with:
- A rod wrapper – This can be a simple set of sawhorse-like stands to rest the rod on as you wrap the guides, or it can be a motorized version so the rod turns by itself.
- Sandpaper, flexible sanding sponges, and reaming tools – You’ll need these to shape, finish, and size components like grips and reel seats. A Dremel tool comes in handy for this, too.
- Burnishing tools – These are used to make the thread wraps even and tight.
- A tape measure and calipers – Measuring out the spacing of guides and components is critical, as is measuring the internal and external diameter of some parts to ensure a perfect fit.
- Scissors and razor blades – Cutting tools will be needed for trimming thread, cutting tape, and slicing away frays.
- Masking tape – Having tape on hand will help you temporarily affix pieces and parts at various stages during the building process.
- Disposable cups and stirs – For mixing the epoxy.
- A rod dryer – Having a motorized rod dryer that slowly rotates the rod as it dries will ensure evenly spread epoxy and create uniform coatings. You can save some cash and do the rotating by hand while the rod sits in a non-motorized stand, like a manual rod wrapper, to save some cash. But you’ll need to hawk it as it dries or risk having drips and droops in the epoxy. So, first-timers who are just getting their feet wet to see if they enjoy rod building might go manual to save a few bucks, but should realize that this will increase the workload and can be risky.
Rod Builder Resources and the GPS Calculator
The final step in prepping for a build is doing some research to wrap your head around each stage of the process. We’ll cover each step of building a rod in next month’s edition, but meanwhile, you’ll probably want to watch a few videos and read some additional articles on custom rod building. Anglers Resource specializes in giving rod builders exactly what they need, and that includes knowledge. Click on the “Learn” tab and you’ll discover Builder Resources, with articles and videos detailing everything from picking components to making specific types of thread wraps. The GPS Calculator is an especially helpful tool for building spinning rods from 5’6” to 9’0”, which helps map out guide placement using Fuji’s proven New Guide Concept and KR Concept spacing systems.
Okay: are you ready to settle on a project and map out your plan? There’s a long winter ahead, anglers, and nothing will help it go by faster than thinking about fishing while you endeavor to make it even more fun than it already is—and upping your angling game at the very same time. Make sure next season is the best ever, by taking those casts with your own hand-built custom fishing rod.
Stay tuned for next month’s installment, “The Artful Angler, Part II: Building the Dream.” Right now as you read this, FishTalk Contributor Eric Packard is wrapping guides and reaming grips as he builds his dream stick for stripers. In the January edition of FishTalk he’ll walk us through the process on a step-by-step basis and explain what tools and supplies are necessary. Then in February we’ll dive into Part III: Devil’s in the Details, and take a look at the cool custom touches you can add to your rod to make it a standout.