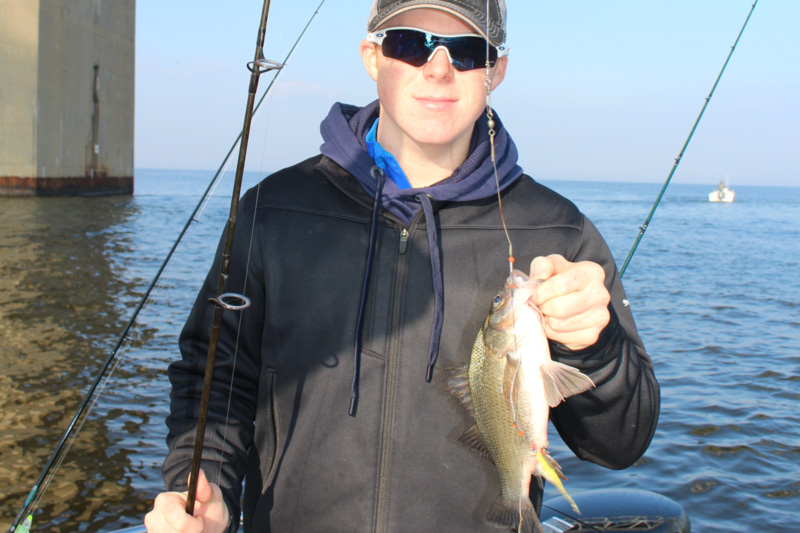
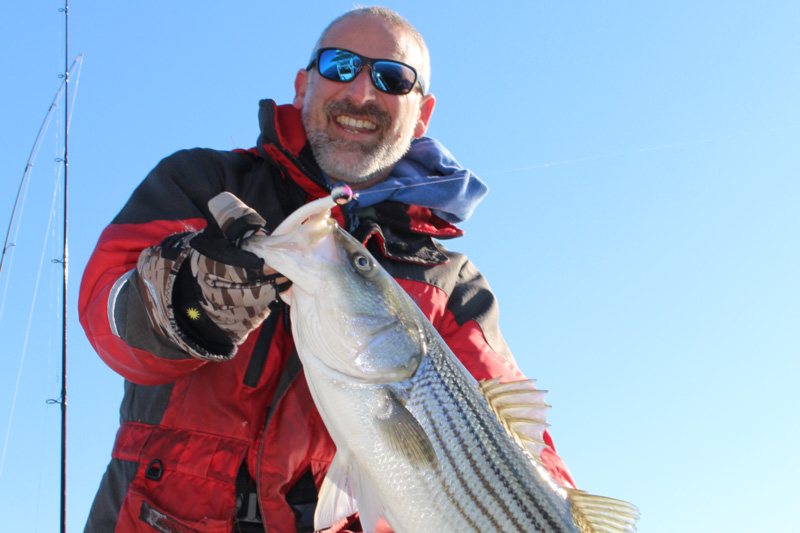
Why do we call striped bass rockfish? Because they like to reside around rocks, of course! And experienced Chesapeake anglers know that hot fishing is in store when you find a submerged rockpile or rip-rap that is in a high-current area with deep water nearby. Where will you find the largest, most obvious piles of rocks in deep water, where the current rips past at nearly all stages of the tide? At the Chesapeake Bay Bridges. While many anglers focus on the bridge’s pilings, there are times when the rockpiles make ‘em pale in comparison.

Jigging at the Rockpiles
The most effective way to probe the 30- to 50-foot depths around the rockpiles is by jigging, and jigging in this deep, fast-moving water means heavy metal is in order. Jigging spoons like Braids, Butterflies, Yo-Zuris, and Stingsilvers will all work. Commonly you’ll need sizes of two ounces or more, though during those brief moments of dead tide, you can put on a one-ounce jig and catch perch and rock from the depths. Light tackle anglers should also check out resin spoons, which sink surprisingly well for their weight. (A two-ounce spoon seems to sink as well as most three-ounce lead spoons.)
Drop the offering to bottom and give it a quick, strong up-stroke, until your rod tip is at 11:00. Then allow the lure to flutter down while you drop the tip, maintaining tension — absolute minimum tension — on the line. You should be allowing the jig to fall as freely as possible, yet you shouldn’t allow any slack into the line so that you can feel it when a fish strikes. Fact: nine out of 10 strikes will come as your jig or spoon falls, and if you don’t maintain that minimum tension, you’ll be missing hits without even knowing you ever had them.
Feather jigging is another traditional (read: old-school) rockpile rockfishing tactic, and it is very effective since this method allows you to use several ounces of lead along with your feather jig. The jig itself should be a mere half or quarter-ounce chartreuse feather jig of three inches; tie it to a three-foot, 20-pound test leader that terminates at a triple swivel. Clip the triple swivel to the end of your mainline, and then clip a two- to three-ounce weight to the third eye of the triple swivel. Cast out the rig far from the boat and instead of vertically jigging it, after it reaches bottom retrieve it with rhythmic pumps of the rod tip every time you crank the reel.
You’d like to target perch and stripers at the same time? Then it’s time to tie up a tandem rig. Use one of those jigging spoons at the bottom, a three- to four-foot leader tied to a triple-swivel, and a short six- to eight-inch leader at the top. On the top leader, tie on a shad dart, streamer fly, or light feather jig. This way the stripers have a large offering and the perch get a more appropriately sized lure to attack. Note: if gray trout ever return to our Middle Bay waters (please! please! please!) keep some of these rigs handy, as they give you the ability to offer those picky fish two different color and size offerings at the same time.

Current Events
As most Upper and Middle Bay anglers already know, there are two rockpiles at the bridge, an eastern and western one, both on the southern span of the bridge. As a general rule of thumb, when you’re after stripers the west side of the eastern pile is most productive. But every so often you’ll discover that for some reason, the western side rockpile holds more fish. When it comes to white perch, it’s a complete toss-up as to which one’s the best bet. On both rockpiles, however, the hottest zone for striper fishing tends to be the side of the rocks facing the channel. Tends to be, but isn’t always; sometimes the north or south face of the rockpiles will be the spot to hit. How will you know which spot to start prospecting at? Look at the current — the most important factor affecting how and where the fish in this area will be feeding.
Most often the section of the rockpile hit by the current is going to be the most productive. You’ll discover that quite often stripers will be holding from a few yards off the rocks out to halfway to the next piling on the west side of the east rockpile, where the bottom drops from the 30s down into the 40s. During a strong incoming tide, start off on the southern side of the piles. On an outgoing, the northern face of the rocks more often holds feeding fish. Note: the outgoing is often the best tide to fish at the eastern rockpile, because the large concrete piling on the northern span of the bridge offers some shelter from the current and/or winds. That makes it possible to do longer, slower drifts before it becomes necessary to reposition the boat, which can be a major challenge when fishing the rockpiles as the current and/or wind often makes for fast, brief drifts — assuming you don’t have an electric trolling motor with Spot-Lock to hold your boat in place.
When the tide is incoming but you don’t catch ‘em on the northern side of the rocks, the western side is your next best bet. The drift along the western side is usually faster, as the current rips between the rocks and the next concrete pile to the west, which can make constant re-positioning necessary. Again, remember: boat positioning is one of the biggest challenges to fishing the rockpiles. Without that Spot-Lock, there will be days when it will take a dedicated helmsman who doesn’t fish at all, but instead spends all of his or her time holding the boat in position and repositioning it as necessary.
When the current drops out, boat positioning gets a lot easier… and the fish often bite a whole lot less. But the water doesn’t remain slack at the bridges for very long. The currents shift quickly and dramatically here, so it’s never a long wait until it starts moving again. That said, savvy anglers may want to shift to perch fishing when the current drops out. Often, these tasty panfish will continue biting even when the striper action peters out on the tidal change. Also note that quite often, you’ll be drawn away from the rockpiles when you see flocks of birds diving in the area — a common event around the bridges at this time of year.

Hunt and Peck
Regardless of which rockpile you’re fishing it’s smart to stay on the move, fishing the different zones of the rocks until you locate the hottest area of the moment. And remember, the hot area will shift as the tides and currents shift. That means you should be prepared to shift as well, constantly moving and probing when the bite seems to have died. In all likelihood, it’s moved to a different zone of the rocks as opposed to ending completely.
Some anglers will anchor here, but I discourage this move for several reasons: first off, you’ll ruin everyone else’s ability to fish. Multiple boats on the drift can take orderly turns going through the productive zone one after another, but there’s not enough room for a large number of boats to anchor up next to the rocks. Secondly, there’s a good chance that if you drop your anchor here you won’t ever get it back. There are all kinds of cables, concrete chunks, rocks, and other snags down there, and an anchor that’s set next to the rockpiles likely won’t be recovered. Thirdly, and most importantly, it’s hazardous to anchor up by these rocks. If your anchor breaks loose your boat could be smashed against the rocks in no time. Between the roaring current and the large freighters cruising by (and the huge wakes they make) you can go from safely anchored to crunching fiberglass in no time flat.
Just in case you haven’t realized it by now, fishing the rockpiles can be a rather intense way of angling. But if you approach fishing at the rockpiles properly, a full cooler awaits you at the end of the day — and that makes driving down this rocky road a worthwhile endeavor.
For more intel on fishing at the Bay Bridge, see Jigging the Chesapeake Bay Bridge Pilings, and How to Fish the Chesapeake Bay Bridges.
Sign up here to get the weekly FishTalk Chesapeake Bay and Mid-Atlantic fishing reports in your email inbox, every Friday by noon.