It starts out innocently enough since you don’t need a trolling motor on your center console boat, and you have a Jon boat with a trolling motor for fishing the piers and rivers for white perch with your grandsons. Sure, you’ve heard of all the benefits such as Spot-Lock on the newer Minn Kota models, but you have a perfectly good anchor that you hardly ever use. Then out of nowhere it happens — your fishing buddy gets a new trolling motor installed on the bow of his boat, and it’s the greatest thing since sliced bread. Suddenly, you’re stricken with a severe case of boat-envy.
It’s early February; we’re still experiencing covid lockdown, and innocently one day when bored, I surfed the internet looking at trolling motors. Within a matter of days, I “needed” one. Without one, the number of fish coming over the gunnels of the boat would surely be compromised. There is one nagging question: Can one be installed on my boat? After all, it’s over 10 years old and is not factory-wired for one.
You also may have a more serious issue of convincing your wife that life will never be the same unless you buy a new trolling motor. I suggest developing a marketing plan, taking her out to dinner at her favorite restaurant, and casually giving her your list of 19 reasons why buying a trolling motor for the boat is a good idea. Pray she doesn’t ask about the cost.
She reluctantly agrees? The most major hurtle has been overcome. The next step is deciding if you contract with a local dealer/installer or tackle the install yourself. In my case, I contacted the local installer that my fishing buddy used and he never returned my call. I later learned that he was already backed up with work until the following October. This means if I wanted to have any chance of using a trolling motor in the next year, I’d have to do the installation myself.
Choosing the Best Trolling Motor
I researched trolling motors and made the decision to go with a 24-volt Minn Kota Terrova with 80 pounds of thrust. I read any site I could find on reliability issues, read all the customer reviews, and watched all the online videos of people, some professional, doing installations. There’s also a lot of info on the Minn Kota site and you can download rigging, installation, and owner guides.
From my research I found the 80-pound thrust motor was good for a boat up to 20 or so feet with a weight of 3500 pounds. My boat loaded weighs about 2600 pounds, so this model would provide plenty of power without needing the third battery necessary for those more potent 36-volt rigs.
Mounting the Motor
I spent several days searching the internet for pictures and articles of how others had installed trolling motors on boats similar to mine. There are groups on Facebook that are manufacturer-specific, and I joined several of these, posting questions about installs.
Three items posed problems for me:
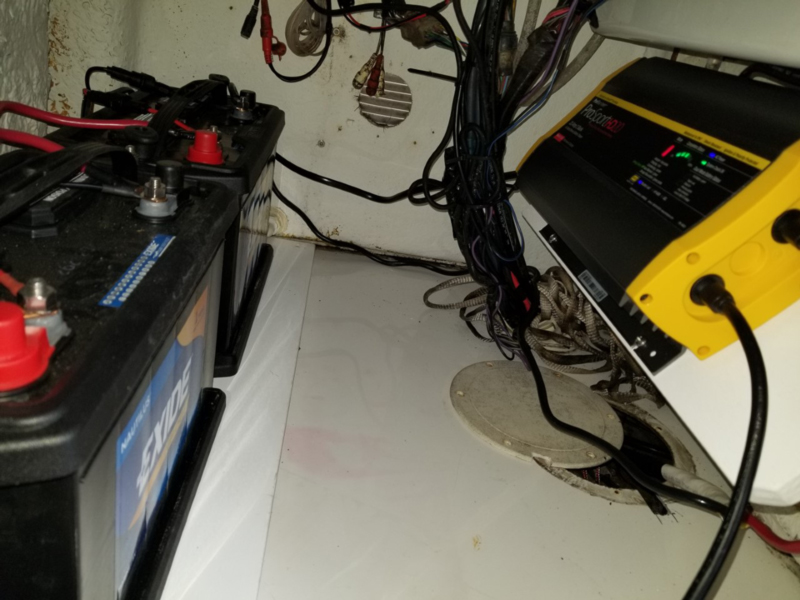
- Where would I store the two group 27 batteries to power the motor?
- How could I run wires from the new battery location to the trolling motor plug I would mount at the bow of the boat?
- How would I access the underside of the bow deck in order to through-bolt the mounting puck?
I tackled the wiring issue along with the battery location at the same time, and made the decision to mount the batteries in my center console. I had an access plate in the floor of the console to allow accessing the fuel tank sending unit. I removed this eight-inch port and tried to run a steel electrical fish tape towards the bow of the bow. I was thrilled when the end of the tape appeared in the opening in front of my anchor locker. Two of the three problems were solved, in one fell swoop.
Before I removed the fish tape, I attached a rope and pulled it from the bow to the center console. I would later use this rope to pull my six-gauge wires from the trolling motor plug to my batteries.
Using a mirror and flashlight and looking through the hole in front of my anchor locker, I could see most of the area on the underside of the deck where I would mount the motor. I could just reach the underside of the deck with my hand, but there was no way I could install the washers and lock nuts or hold a wrench. I couldn’t install an inspection plate there, either, as the area in the bow of my boat is curved.
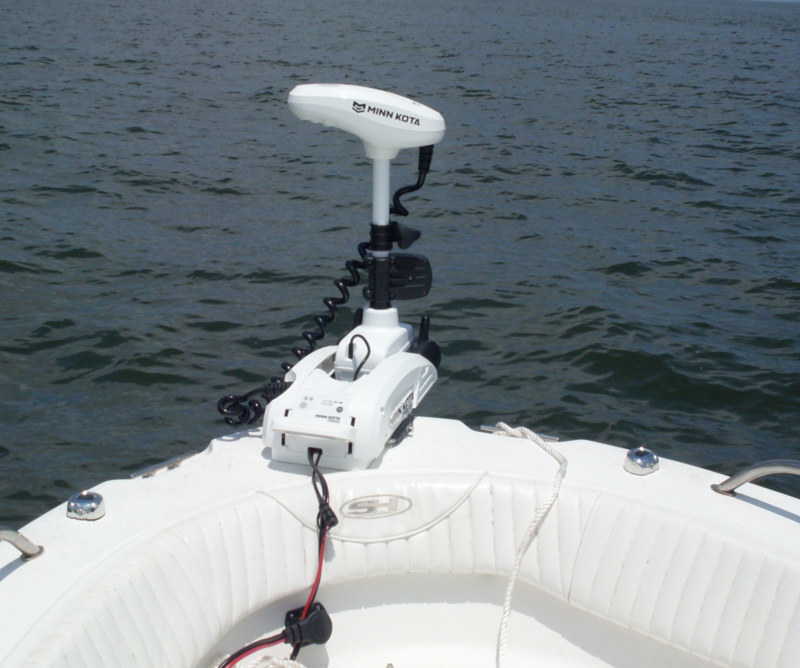
I decided to remove the bow inwale bolster and cut a hole in the fiberglass there, mount the quick disconnect puck for the motor, install the wiring, then re-install the piece I had cut out and seal the saw kerf with silicone. New running lights were required as the trolling motor was mounted where my old single red/green light was located. Note: during the research phase I saw pictures of trolling motors installed so that either the red or green side of the bow light was blocked by the motor, so plan ahead for this issue.
One valuable tip I got from a friend was to tie some mono fishing line to any tool you use under the deck when installing the mounting puck. I’m glad I followed this advice or else I’d have a wrench bouncing around somewhere between the deck and the hull for all eternity. I also took extra care when drilling the mounting holes in the center console floor for the battery trays, using a drill stop to insure I wouldn’t drill through the floor and into the fuel tank.
Final Assessment
Installing your own trolling motor is a job anyone can accomplish if you first do your homework. On a difficulty scale of one to 10 I would say it was a six for me, while noting that I’m fairly handy with tools. I also sought the advice of a friend who worked in the marine industry for many years, bouncing my ideas about the installation off of him and my son, who has been in the marine industry for 30 years and is an expert at fiberglass repair. Plus, I’m meticulous in my work and prefer to do my own repairs and installations whenever possible. I wanted all electrical connections crimped, soldered, and covered with shrink tubing.
All in all, it took me about 30 hours to do the install and the total cost for everything was just over $3100. I’m very pleased with the way my installation turned out.
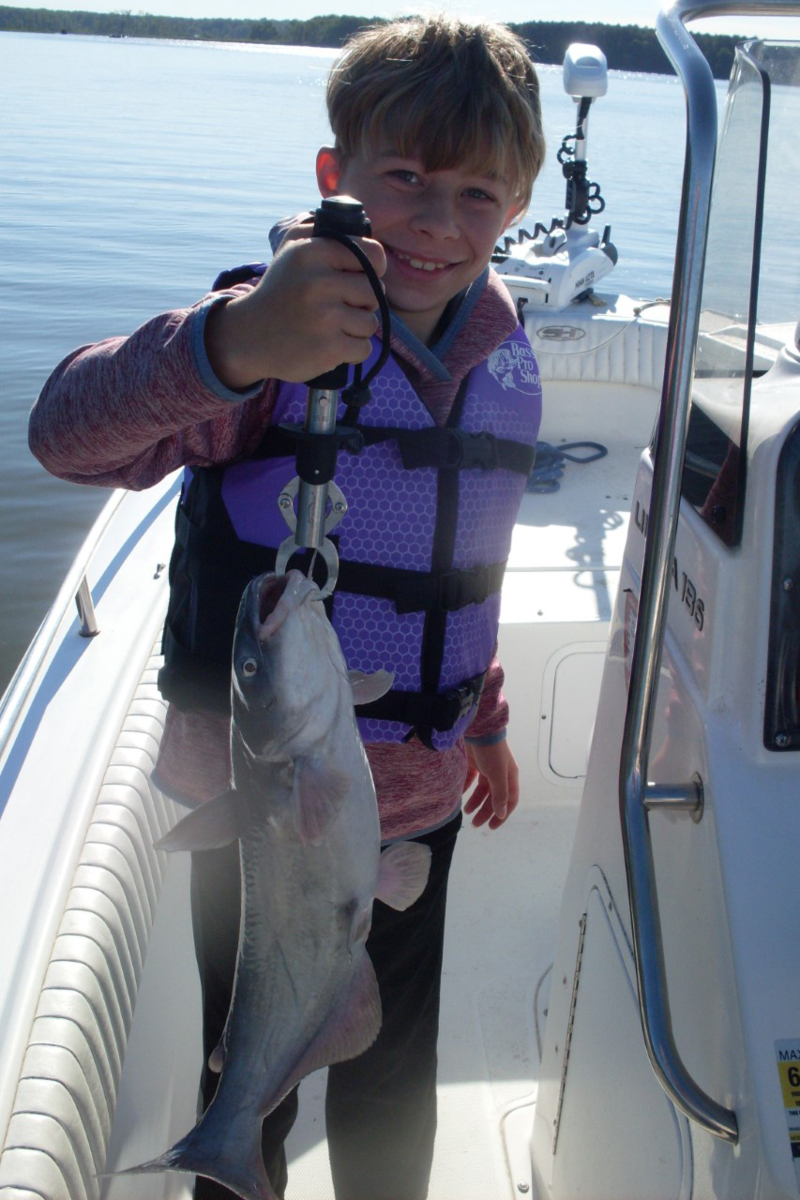
I’ve used my new trolling motor to fish the pilings of the Bay Bridge, and the Spot-Lock is wonderful. On a recent trip I caught a rockfish that I probably wouldn’t have otherwise, as I would not have gone through the hassle of dropping the anchor trying to catch my one fish, one-man limit. I can now use my center console to fish with my grandsons and son-in-law in the rivers, whereas before I couldn’t go with the three of them in my Jon boat because of the weight limit. I see now why people like the editor of FishTalk say things like “Once you have a trolling motor with Spot-Lock, you will wonder how you ever fished without one.” Plus, boat envy is now a thing of the past. Mostly.
- By Carroll Ball, Jr
Editor's Note
While we have great respect for Carroll’s endeavor, we should point out that DIY jobs like this aren’t for everyone. FishTalk supporter BOE Marine does trolling motor installs and in fact, when the Angler in Chief wanted one installed on his own boat, that’s who he decided to call. “I’m great at ripping stuff open, but not so great at putting it back together again,” says Rudow. “And this is my boat we’re talking about, for gosh sakes. I tip my hat to Carroll but yeah… I’ll call the pros.”